Kajabi Quick Tip | Super Fast Hack for Creating Lesson Thumbnails
Mar 07, 2023Welcome to Kajabi Quick Tips, your regular dose of Kajabi inspo!
Twice a week I share an actionable tip that's quick and easy to implement.
Use the step-by-step guide below or watch the video below if you prefer to see what's happening on screen.
You'll learn more about Kajabi one quick tip at a time, so you can master the platform that runs your online business!
Just a heads up
Blog Posts from at The Unicorn Advisory may contain affiliate links, but I’m a no bullshit affiliate kinda gal, as you can read about in my affiliate disclaimer.
I only share products and services we use and love and would recommend, if there was affiliate program or not.
The few $$ we make from affiliate income, costs you absolutely nothing and goes straight to our family holiday fund ✈️ so my kids and I thank you💗
Creating thumbnails for your course lessons can be a little tedious if you have a big course with lots of lessons and modules.
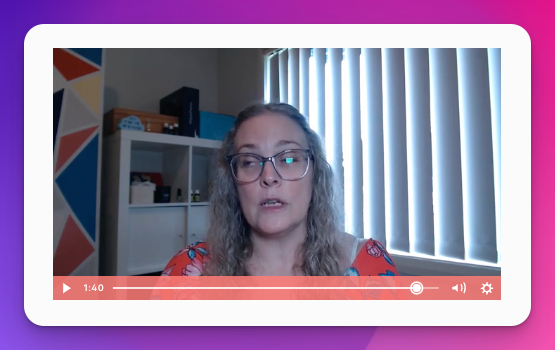
And if you don't use any thumbnail graphics, the video preview could pause at the most inconvenient place, perhaps you are on screen with your eyes closed or your mouth in a weird position.

Hardly the best first impression for someone taking your course! 😆
Luckily, Kajabi has a genius hack to make thumbnail creation quick + easy, so you don't need to make individual thumbnail graphics for your lessons OR if you want to come back and add the thumbnails later once you've got more time.
In this Kajabi tutorial, I'll show you how to use the Use current frame as thumbnail feature, to make thumbnail creation super quick and easy!
Todays KQT
How to quickly and easily create lesson thumbnails directly from your videos.
First up - in case this is your first time creating a course, you could be wondering what I'm even talking about when I say thumbnails?
A thumbnail is the graphic "preview" image for your videos - it is the image that will show before your video starts playing.
You can see what that will look like by clicking the preview "eye" or if you have a thumbnail already added - you will see it show up in the lesson thumbnail area.

In a Kajabi course, the thumbnails are also the graphics of each lesson, which can be seen in the course overview area

You may want to make a series of branded graphics for these in a design program like Canva, with the lesson title or other information.
But doing this can take a bit of time and you may already have a part of your video that has a title in it - especially if you are using slides for your lessons.
Or you're not fussy about having branded graphics, but you are keen to make sure the preview is an image you like, rather than a random shot in the video, you'll want to choose the specific part of the video to take that thumbnail from.
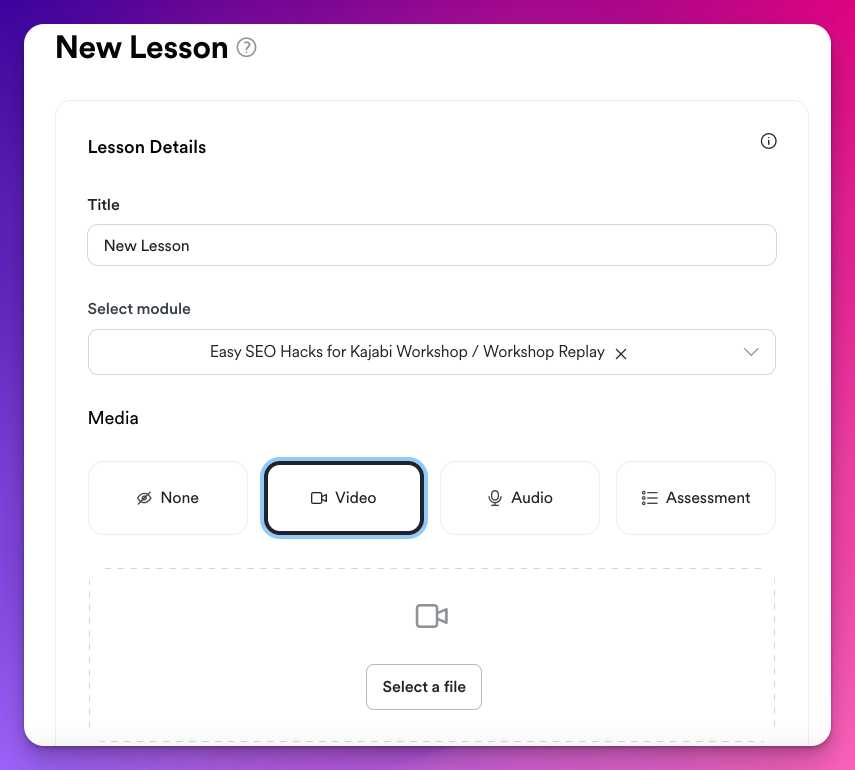
To use the Kajabi thumbnail hack, step 1 is to upload the video to your lesson.

Once the video is uploaded and saved, make sure you are inside the lesson editing area (so you can see your video) and look underneath the video to make sure you can see "Use current frame as thumbnail".
Don't worry if the video isn't showing what you want just yet - just make sure it is uploaded and saved - if you can see the option to Use current frame as a thumbnail - it has finished uploading and is ready.

The next step is to play the video and pause it in the place you want the screenshot to be. ie - what you see on the screen - is what you'd like the thumbnail to look like. You can choose this from any part of your video, so feel free to fast forward through if need be.
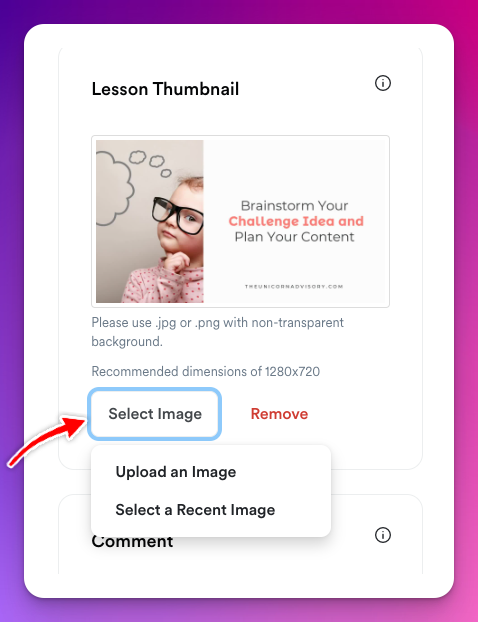
Once you've paused the video and have it just in the right spot, click on "Use current frame as thumbnail" and Kajabi will automatically take that frame and make it the permanent thumbnail. You will see it show up in the Lesson Thumbnail area of the lesson.

It will then show uploading...

And a few moments later - your new thumbnail will appear in the thumbnail area.

If you aren't happy with what shows up - no problem, you can do the same thing again to select a different thumbnail.
You can also upload a graphic image there instead, at any time.

And that's it!
A super quick tip for today - but one that is mighty valuable and can save you a LOT of time!
Prefer to watch on video?
View this step-by-step Kajabi Quick Tip on video, if you'd prefer a start-to-finish screenshare tutorial.
Want extra Kajabi help?
If you've got Kajabi questions, please let me know what they are. Your question may become a future quick tip or tutorial 👍
Click Here to request a tip
Unicorn Heroes
If you'd like personal Kajabi help beyond these quick tips, I'd love to assist you inside Unicorn Heroes, my Kajabi support membership.
Every Thursday I do a live Q+A call and take questions from heroes, and I stay on the call until every question is answered!
Not to mention an ever-growing library of tutorials you can access on demand.
Get your first month for just $10!
One Last Thing...
If you do prefer to make branded thumbnails, Canva makes it super easy!
Just create a custom design that is 1280 x 720
Make the background colour one of your brand colours and add text in your heading font for the module or lesson name.
You can make the text fancy by clicking into effects and adding a shadow, outline or background colour.
Yes - you could design your thumbnails, adding images, textures and other elements, but often the simplest styles work best (and are quickest to create).
And don't forget - you can easily update them at any time in the future.
Happy thumbnail creating!

Cheers, Sue x
Your Trusted Kajabi Expert 🦄
Discover the secrets to using Kajabi like a pro! 🤫
Get a Kajabi Quick Tip in your inbox twice a week
We promise to keep your email and personal info safe. Unsubscribe at any time 🤍


